PeX Progress Update 1
Published at Mar 20, 2024
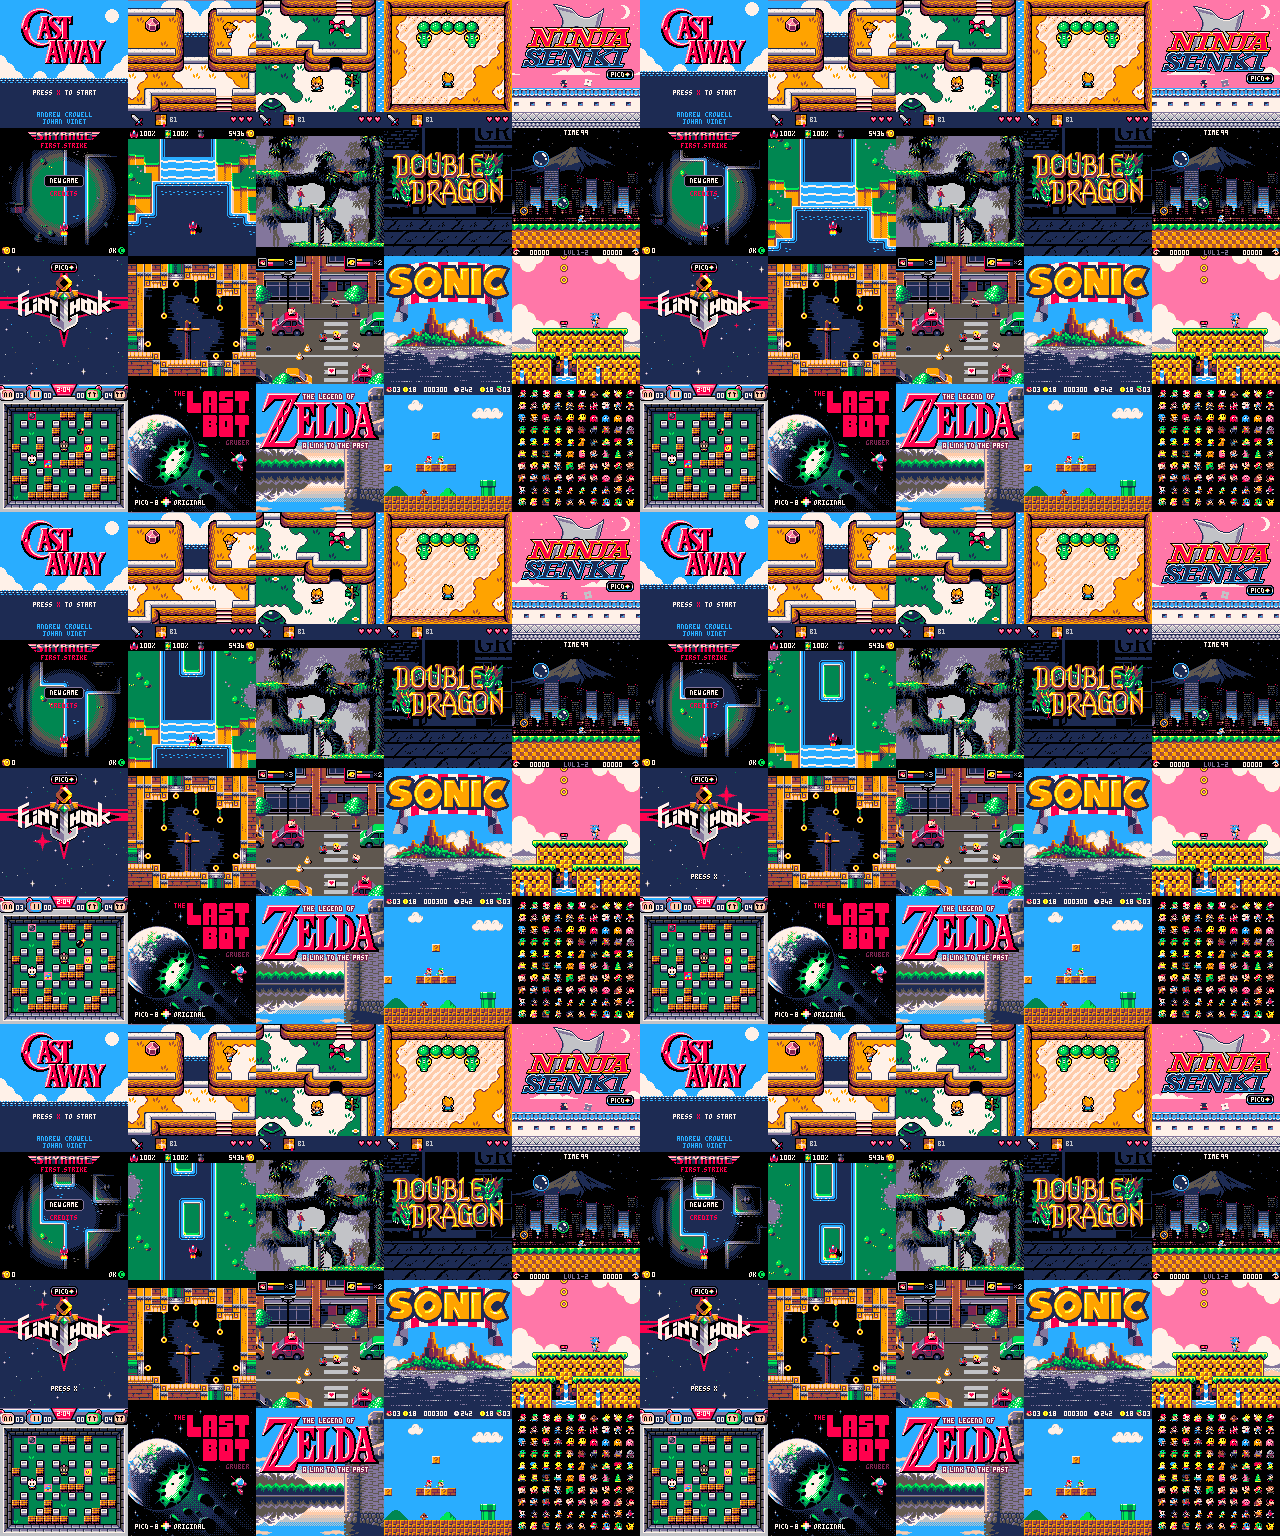
Over the last couple of months, I’ve been working on a game console capable of running PICO-8 games natively. PICO-8 is a fantasy console, which means it has a set of arbitrary limitations like a 128x128 resolution, 16-color palette, and limited code tokens. These limitations simplify the console and spark creativity. Just look at how cute these games are! I recommend watching this GDC talk for a quick and fun overview of PICO-8.
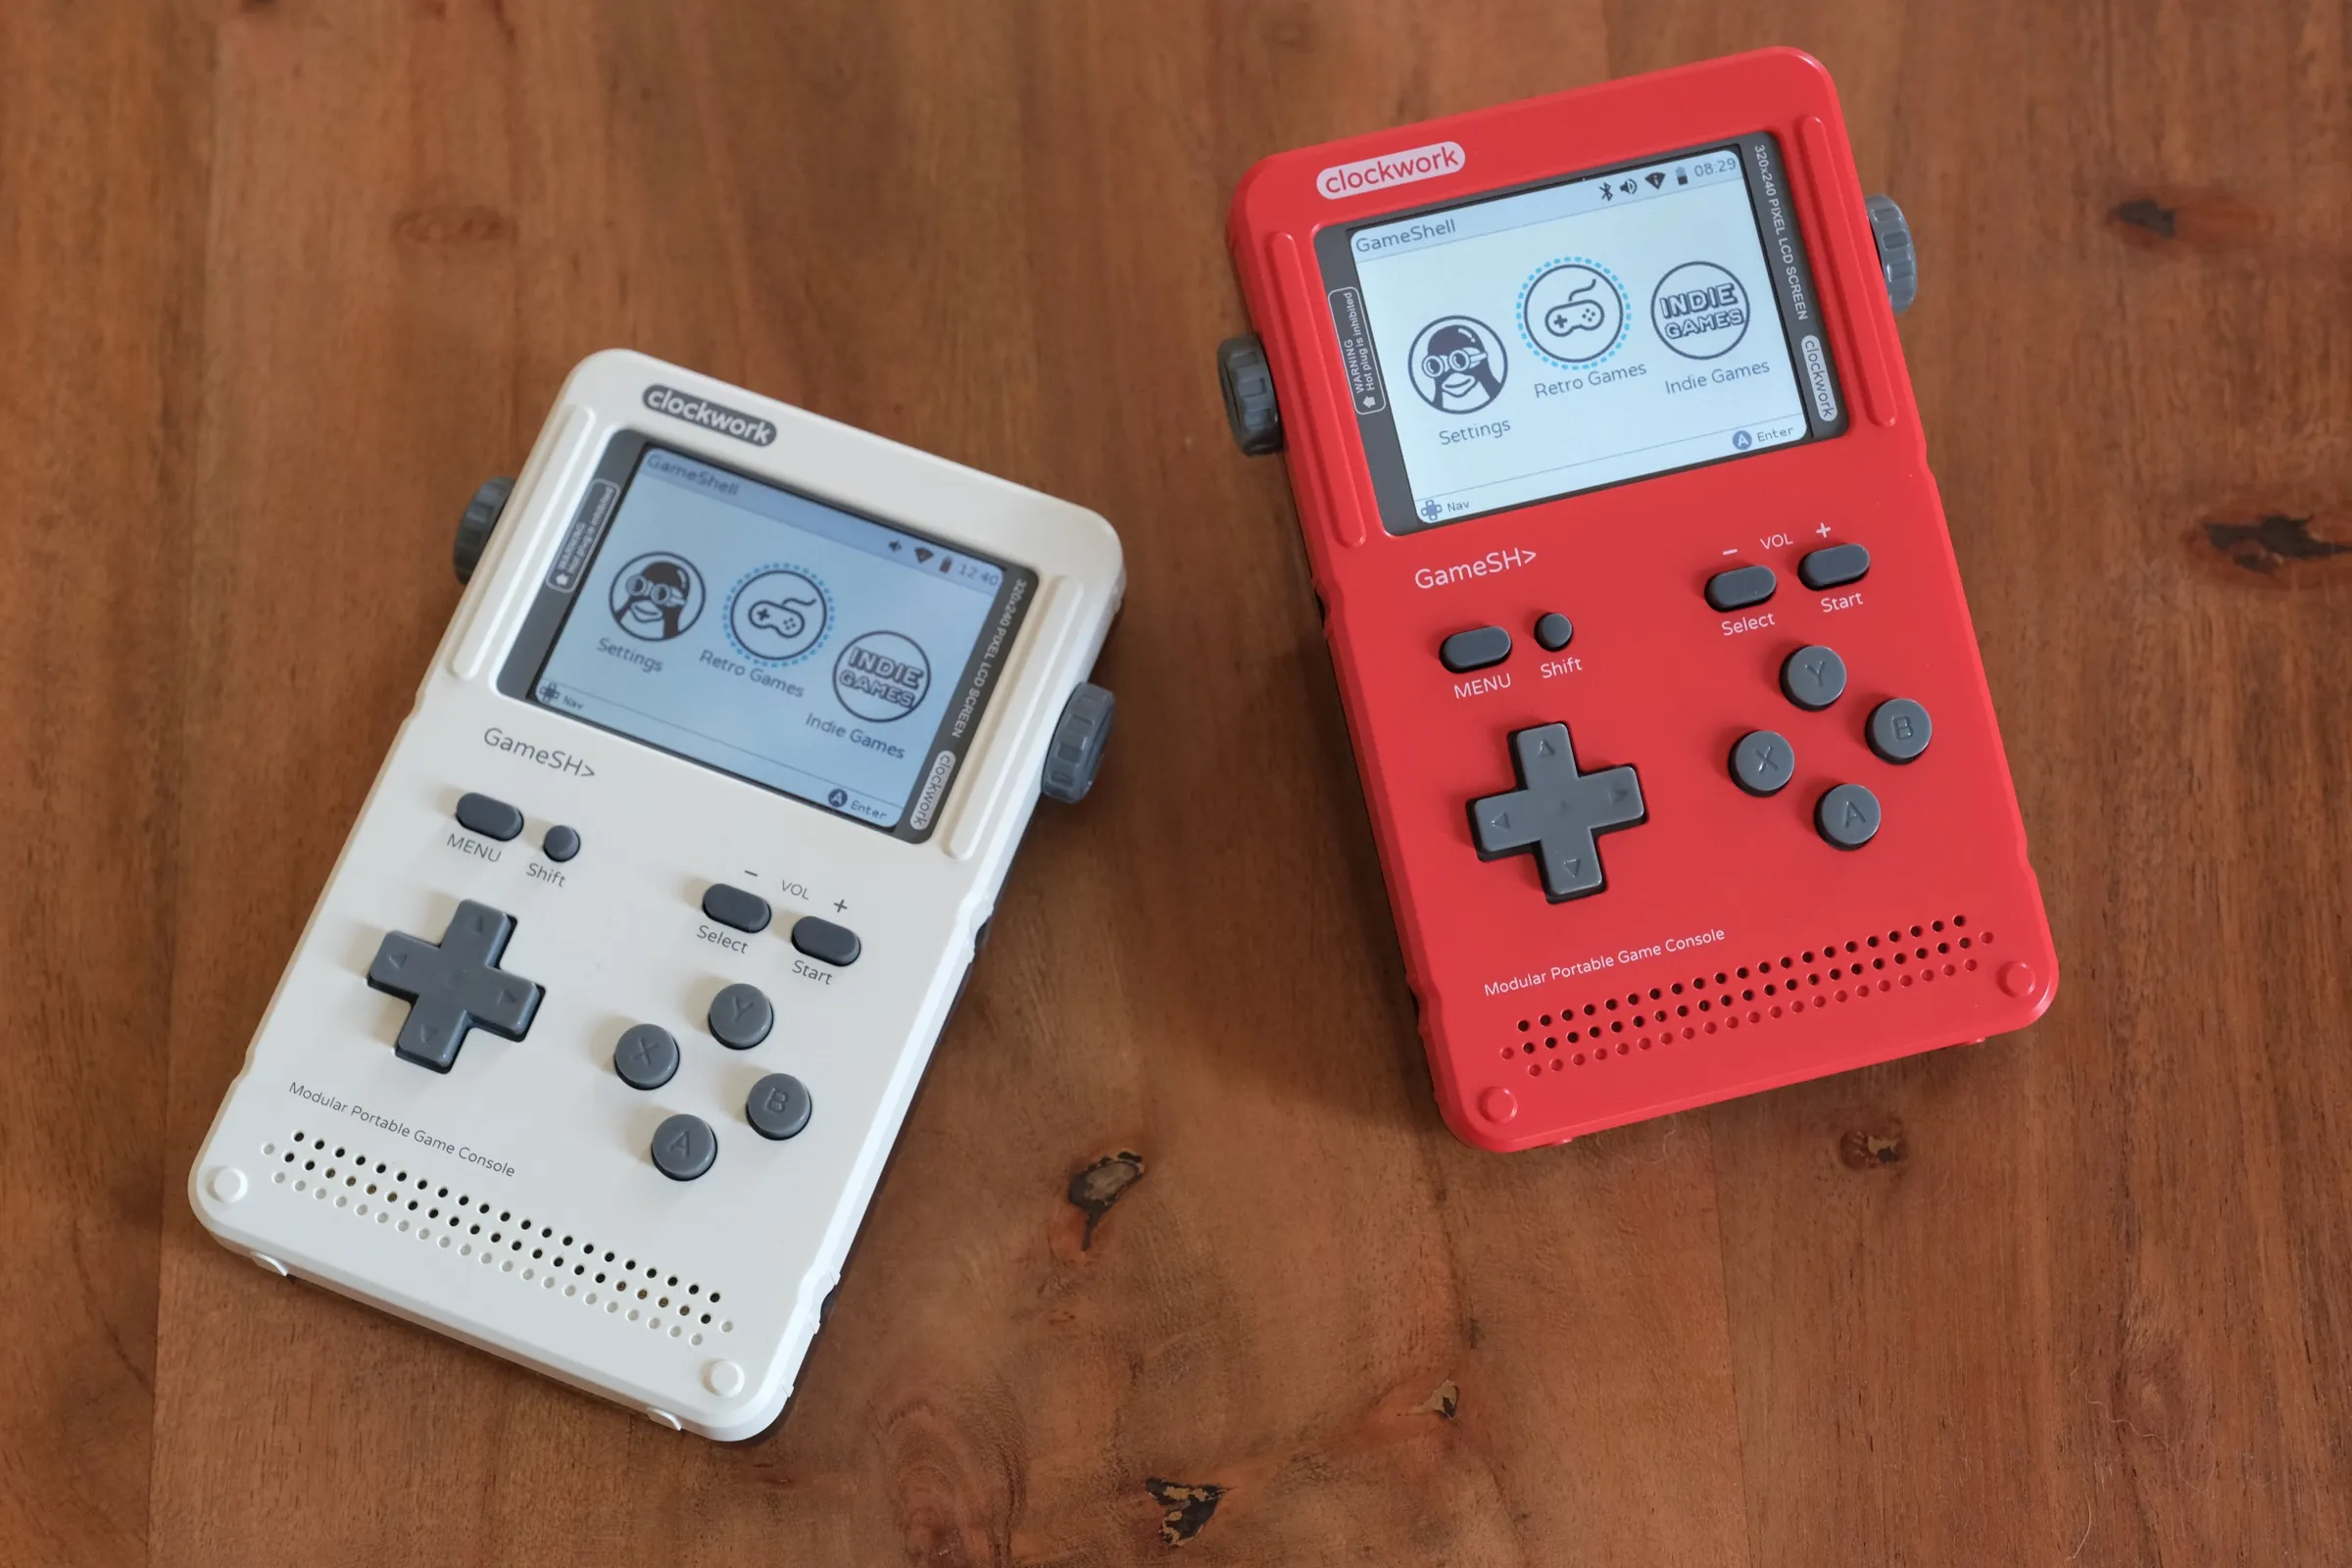
The fan base has been creating real-life consoles that can run PICO-8 for a long time. There are also several commercial consoles that can run PICO-8, notably the Clockwork GameShell, Pimoroni PicoSystem, and the Pocket C.H.I.P.. These are wonderful consoles, but they have two main issues. First, they focus on emulation, making them often too powerful (and expensive) just for running PICO-8. Second, they require you to also own PICO-8, which costs an additional $15, and you usually need to transfer files via SD card or SSH to get PICO-8 onto the device. This is why I set out to create a console specifically for PICO-8.
I decided to base the device on FreeRTOS rather than Linux to reduce resource consumption and cost. This means we will be running a PICO-8 emulator rather than the actual PICO-8 binary. This has the added benefit that users will not need to purchase PICO-8 or transfer files to get it onto the device. I also decided to use the ESP32 chip, which I already had on hand. The ESP32 has WiFi and Bluetooth capabilities (depending on the model) and costs only about $2!

Since we are not using the official PICO-8 binary, we need a way to emulate PICO-8 games. I took an existing open-source project called tac08, a PICO-8 emulator for desktop, and rewrote the hardware abstraction layer to work with FreeRTOS and the ESP32. Using off-the-shelf components like an LCD display and push buttons, I was able to run a simple PICO-8 program with a “ball” character you can control with the buttons. There’s also a primitive buzzer that can play some notes.

Let’s Make a PCB!
The breadboard setup was convenient for a while, but it was a mess of jumper cables and hard to carry around. I also wanted a decent-looking prototype as soon as possible, so I started designing the v0.1 version of the PCB. For the first version, I included a battery management system (BMS), audio board, gamepad, and mainboard PCBs. I decided to have separate modules with breakout pins for any connections to other modules. This way, if I messed up on one module, I wouldn’t have to redo all the others.
Using KiCAD, an open-source electronics design automation (EDA) tool, I drew up the electronic schematic and created the PCB layout.
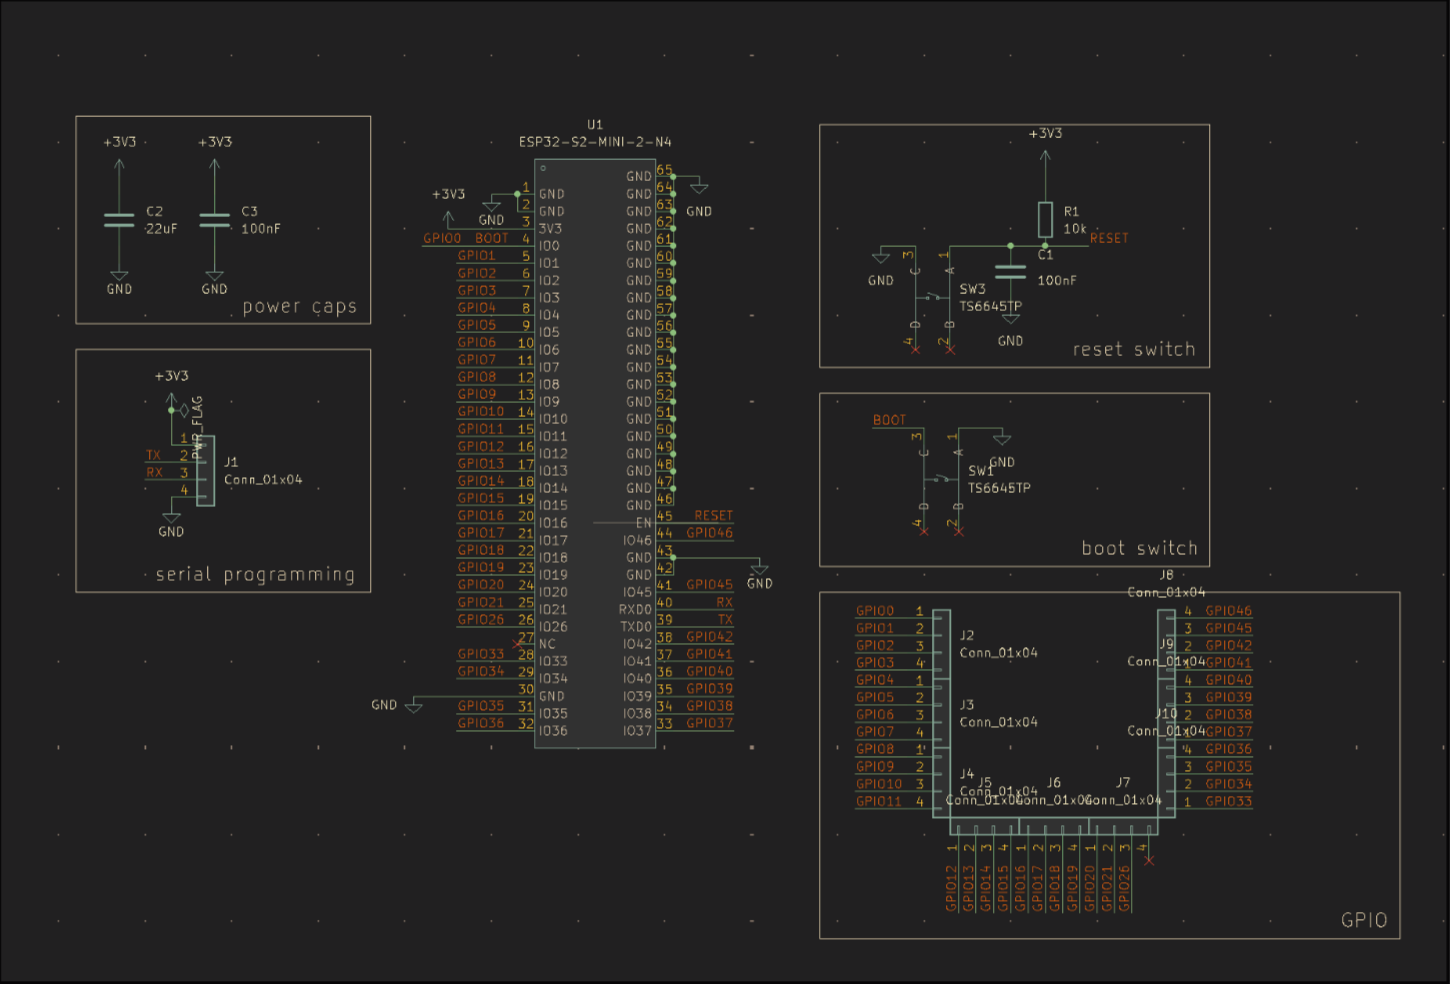
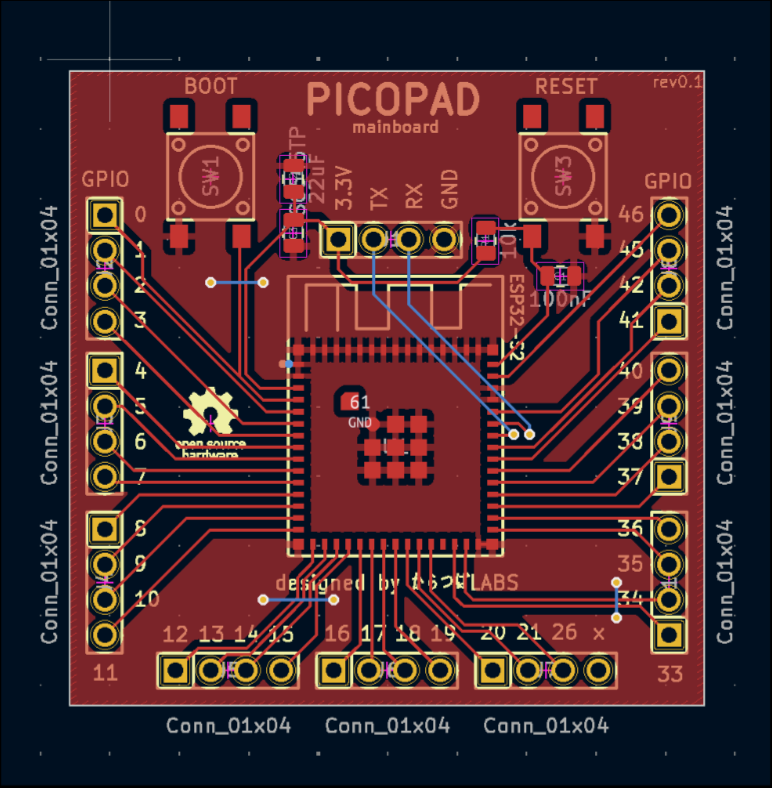
After selecting the exact components and chips I would use, I ordered them through JLCPCB. Within a week, the boards arrived!
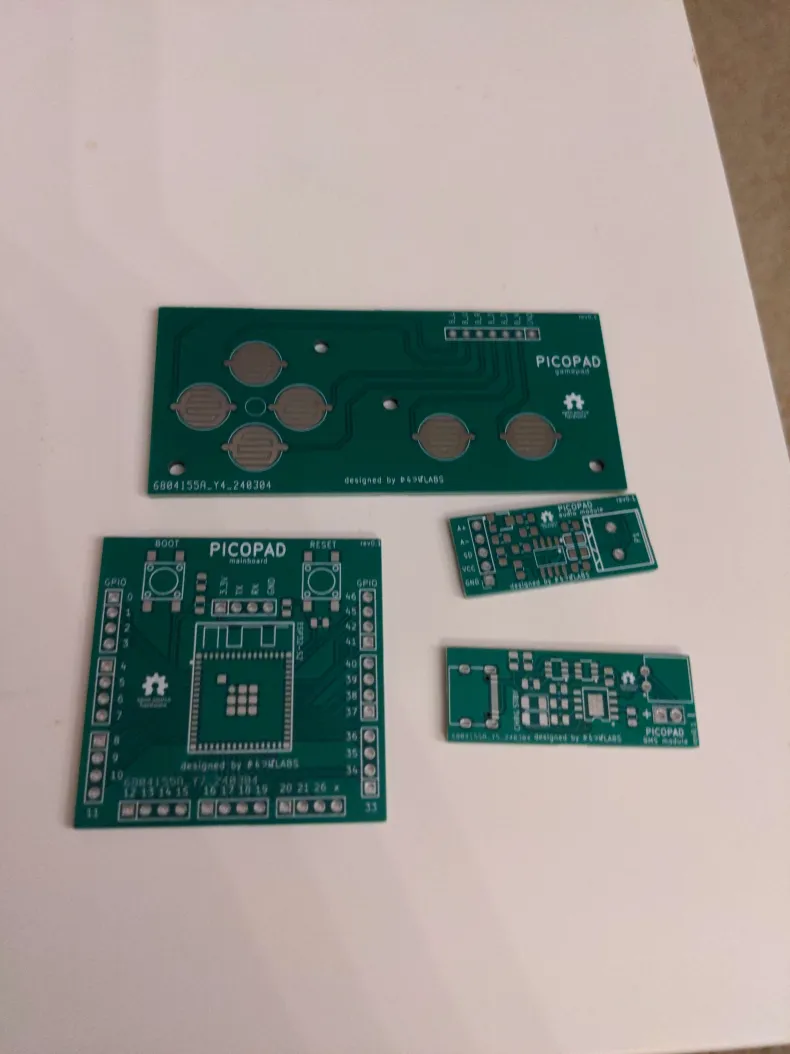
Time for Soldering
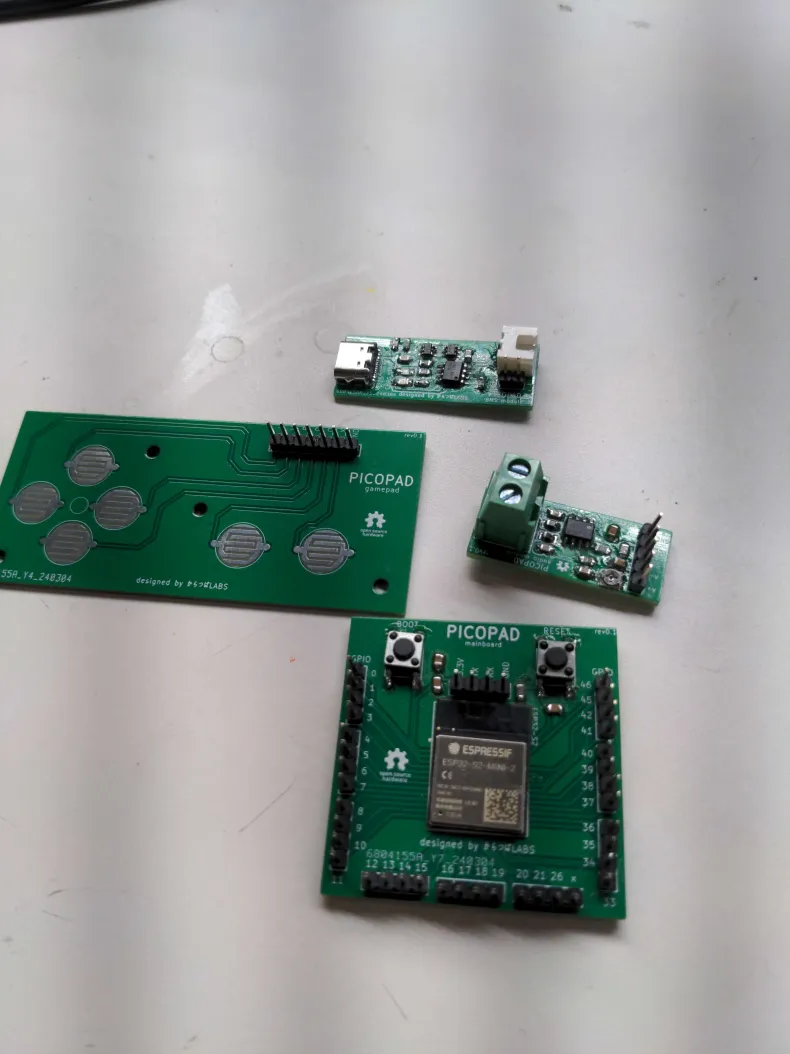
Unfortunately, due to my budget constraints, I didn’t order a stencil, so I had to hand-solder a bunch of 0802 footprint (which is literally like 2 x 1.25 mm) passive components and some tiny chips. Being one of my first times soldering, it took a few excruciating hours to finish. The ESP32 pads are also very small and attach to the chip on the bottom side, so I tried using a preheater and a hot air gun to reflow solder it. Due to my inexperience, the solder paste was applied messily, and the solder job ultimately failed. As shown in the picture, the mainboard was a huge fail and shorted almost every pin. The pin headers on the mainboard were also pretty messy. However, the battery and audio modules were successful, so I will be testing them next.
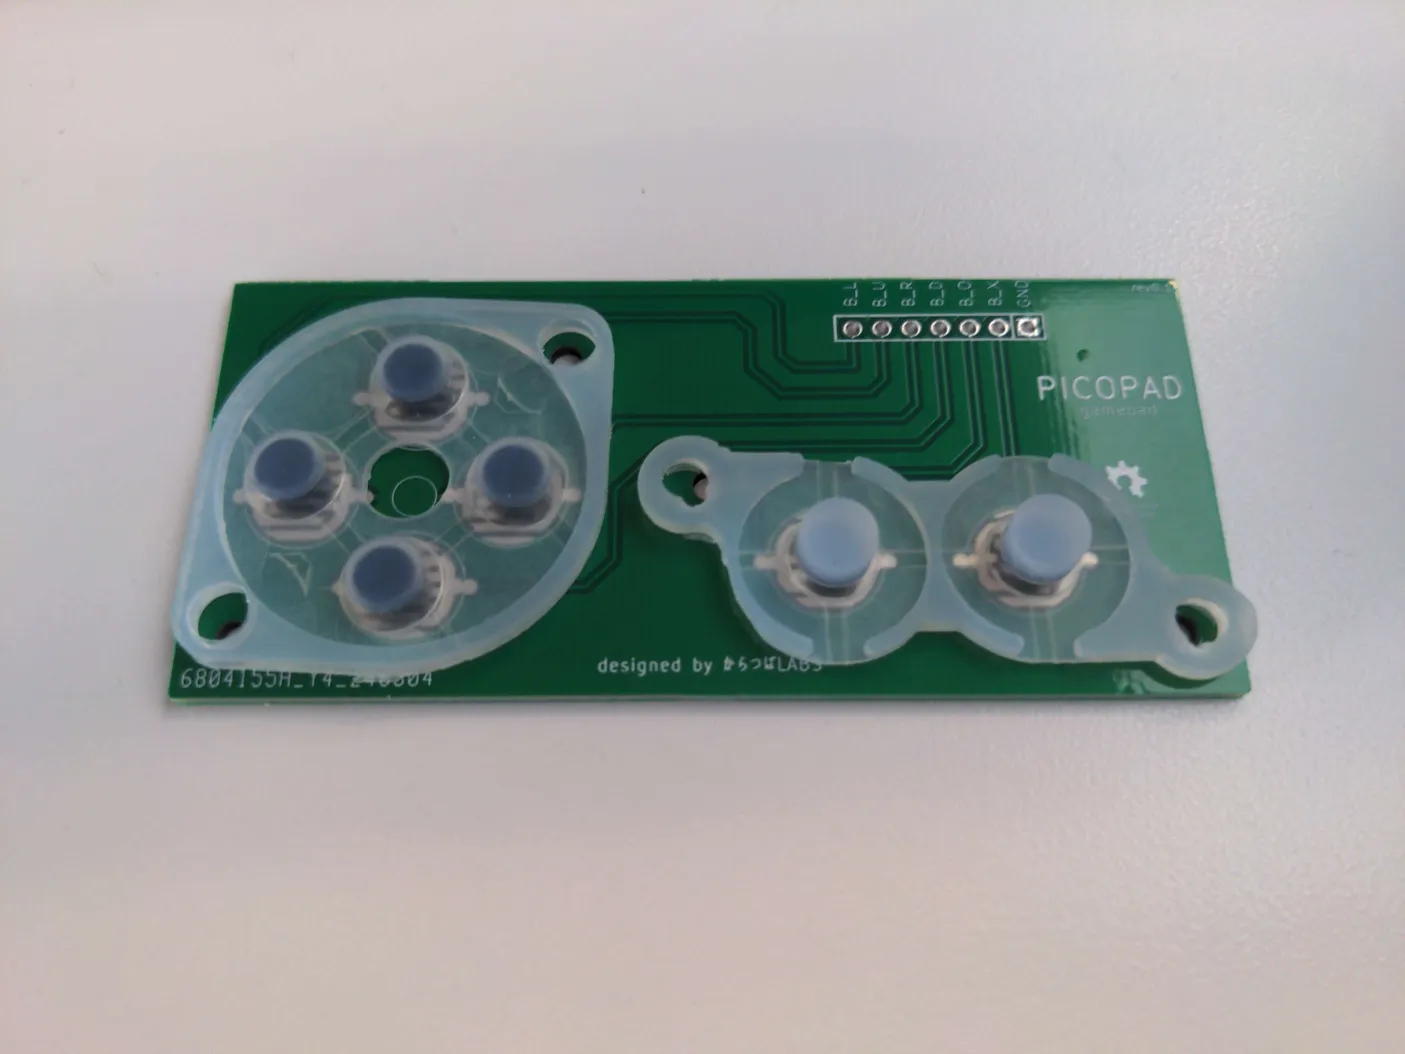
I also designed the early gamepad to be compatible with NES buttons, so I could use NES button pads from Amazon instead of designing silicone button pads myself (which I have no idea how to do). This was a good time-saving measure.
Testing the Boards
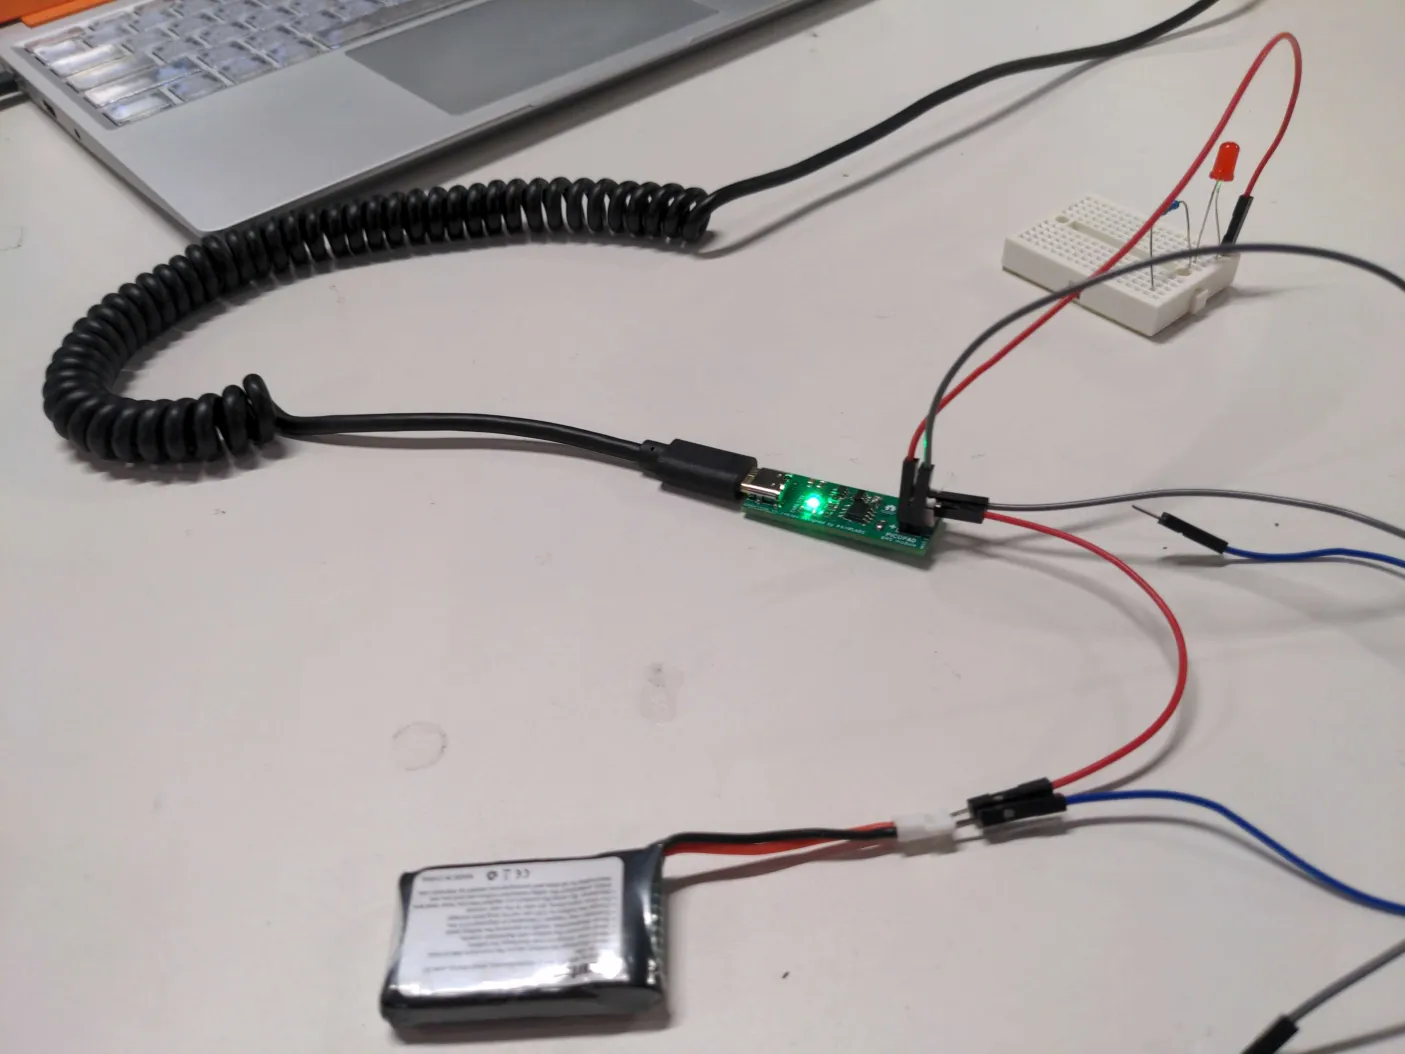
Next, it was time to test the boards. I took some suspect lithium-ion batteries I picked up at a flea market and tested charging and discharging with and without a load, and measured voltage/current levels to ensure the BMS isn’t going to blow up the battery. I skipped stress tests that could destroy the battery and/or the BMS board, though I should do this before production. For now, it looks like the BMS and sound board are working perfectly!
Next Steps
The first version of the boards was only a partial success. There were many points of improvement that became apparent right away:
- No test points, making it very hard to debug lines
- The mainboard didn’t expose VCC and GND, making connecting peripherals impossible
- No indication if the mainboard was powered on
- The ESP32 footprint completely covered the pads, making it difficult to solder
- Some connectors used were poor choices (like the bulky screw connector for audio)
Let’s fix all these issues in the v0.2 version of the board! See you next time!
- pinosaur